
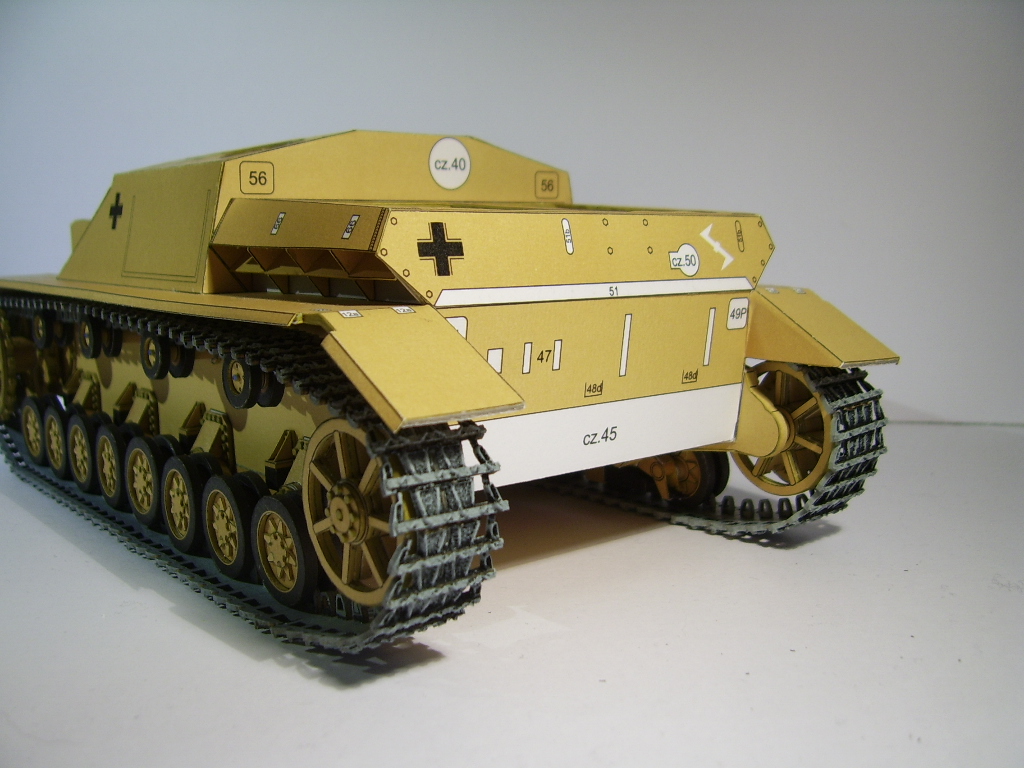
 Stug finally stands on it's own wheels. All subcomponents of suspension are finished and ready for further assembly.
Subparts of suspension were added up in following order: first idler wheel with it's plate was fixed to the body, return rollers next. Before connecting sprocket to the body a length of tracks was applied and shaped onto it with long back section set to lay upon return rollers. Same method was used with idler section. Road wheels were then fixed to the trolleys and last bottom section of tracks was added. Tracks were over painted in flat color inside and drybrushed outside (more visible details).


 With application of tracks suspension has been finished and time has came for detailed jobs. There were two front hatches, driver's hatch, commander's cupola and loader's hatch available in the kit and all can be opened. Hatches are designed the same way - top cover usually thickened with card and bottom cover fixed back to back plus additional details. Super glue can be used on the edges, very useful especially when small size or shape changes are required. It seems 1 mm is not a lot, but here tenth part of it may cause trouble and hatches not to close or open.

 Hinges are rolled out of strips of off-set (soft) paper lined up on the pin and fixed in proper position. For rolling tubes of certain diameter I use pins, needles and drills. I do not use glue but small drop to seal it. Many times I tried applying glue all over the strip but outcome was really messy and out of shape. First I make small loop on one end while strip is on pin, than try to catch it while rolling on tip of my finger. When almost end of strip is reached and visibly matches to required thickness, small amount of glue is applied to seal the ring.. Many small tubes need to be rolled for one set. Number depends on design, reference and detail level (from 2 tubes per set up to 5 per set - see front hatches and loader's or driver's hatch). To keep all sections of one hinge lined up all are set on the pin. When hatch is in closed position and hinges glued to applicable surfaces, large pin is removed and replaced by piece of wire and both sides of hinge tubes are sealed with super glue.
Commanders cupola and driver's hatch section have visors. I replaced originally white fields of visors with clear foil and painted inside.
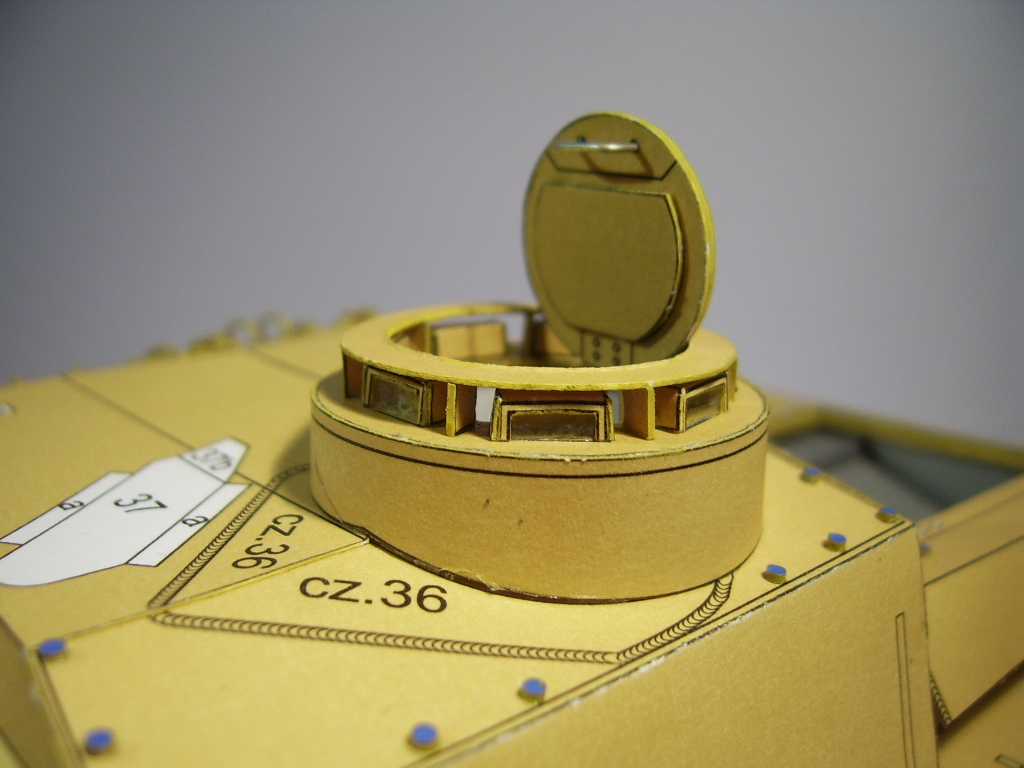
 Build of commanders cupola started with making "mushroom" out of top plate and inside wall which will be set into the body. Then outer wall was added and shaped up with top plate, then came visors and crown. Loader's hatch comes in two wings so extra caution while fitting is required (I had to sand down around 0.3 mm and it still sticks a bit)
Spare road wheels basket and one more spare track bracket are to be fixed to the sides. Next will come engine section hatches (will also be operable), then back wall with exhaust and other remaining details. Gun socket and it's barrel, tools and lights with (if possible) connecting cables will be added as last.
No comments:
Post a Comment